Module 3 Web Page

Connect: Design For Living Systems

Hannah Sancho


Project 3


Module 3

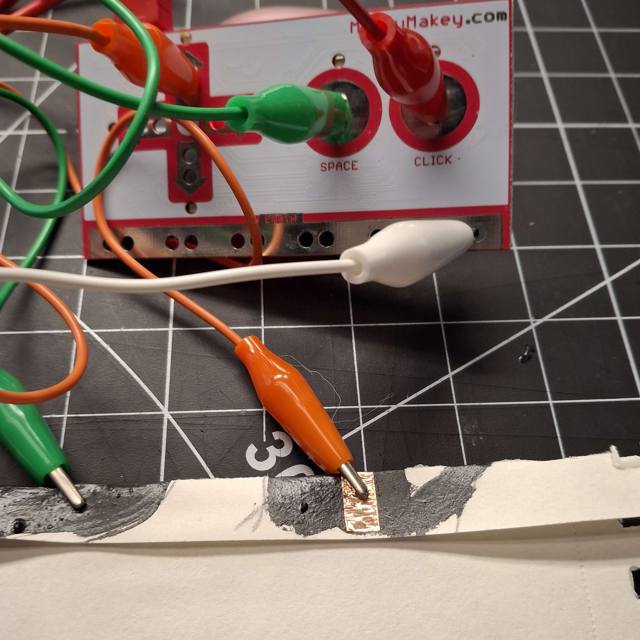
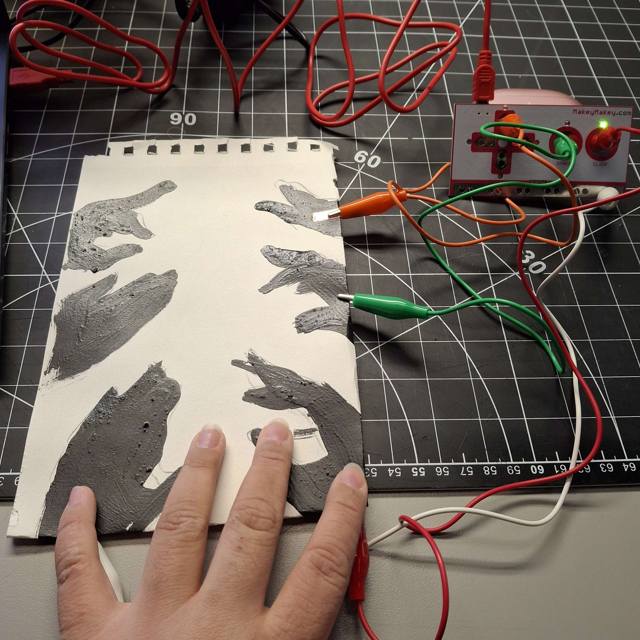
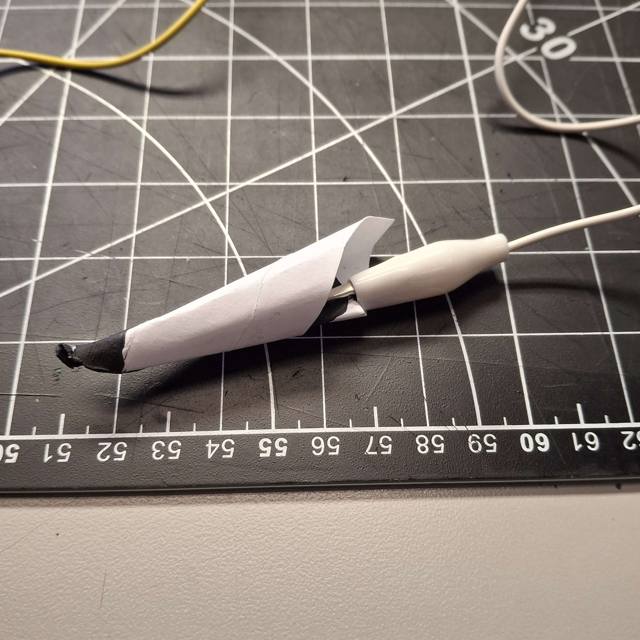
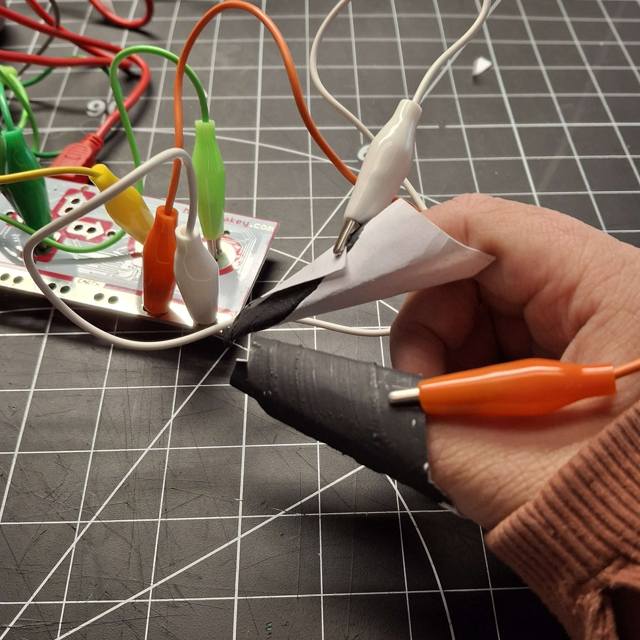
Within interaction, parts within a design are not isolated and often work in tandem with other to communicate data. This project is a representation of this concept, and I aimed to create a design that effectively combines digital and physical components in one unified design. I want to explore a variety of ways to combine touch with visual responses, and analyze how to inform/guide users with physical my physical design. I also aim to incorporate the knowledge and skills learned previously in this course and skills I’ve practiced outside of it, creating something novel to me.

Activity 1

<a href='https://editor.p5js.org/Orzrihh/full/7gwKRVUVU'>Link to Sketch</a><br>As the first sketch in this module, I made minimal changes to get an understanding of the code. I added two more boxes and gave them separate parameters to add some variety. <a href='https://editor.p5js.org/Orzrihh/full/HSjbTBX63'>Link to Sketch</a><br>Similar to the previous design, I layered more of the same element and attached their values. I scrambled the location of these so every ring would move differently from each other <a href='https://editor.p5js.org/Orzrihh/full/mMNEdQbNF'>Link to Sketch</a><br>Rather than stacking the same elements, I tried to add different shapes together. the shape in the middle of this sketch was spinning, so I added a cylinder to act as a wheel to the emphasize the motion since it acts like a wheel. <a href='https://editor.p5js.org/Orzrihh/full/QFTI797gW'>Link to Sketch</a><br>To take this one step further, I began creating different props in the 3d space that resembled real objects. I only used some cylinders and boxes, but I was able to form this gate structure. <a href='https://editor.p5js.org/Orzrihh/full/LbHbqNv2v'>Link to Sketch</a><br>Since I was using code that focused on camera control, I set up multiple gates together to form a path for the user to take. This made the sketch feel more like an explorable space. <a href='https://editor.p5js.org/Orzrihh/full/HDRLiNvDi'>Link to Sketch</a><br>Iterating on this idea, I added more elements, like a room and an sphere at the end of the gates to give the scene a goal to reach, encouraging users to move forward. <a href='https://editor.p5js.org/Orzrihh/full/3zfNtZDfU'>Link to Sketch</a><br>Using the same code, I played around with what I could place in the scene. Changing the style of my gates into pillar-like structures made the environment feel like it had more space, and the floating toruses give a sense of airiness to it <a href='https://editor.p5js.org/Orzrihh/full/zaoOb2mZG'>Link to Sketch</a><br>I went back to some of the 2d sketches, and made some simple adjustments, mainly to the distance added by using the arrow keys and the opacity of the background, which made the almost resemble a fading LED board or a firefly. <a href='https://editor.p5js.org/Orzrihh/full/GGoh9YNp_'>Link to Sketch</a><br>To test different shapes, I just added other circles and squares and assigned them different values to react with key inputs. <a href='https://editor.p5js.org/Orzrihh/full/wJxdzYCcE'>Link to Sketch</a><br>I wanted to test this to an extreme, so I created a high contrast sketch of rectangles, and gave the key inputs larger values. This sketch is unconventional, but resulted in interesting controls. <a href='https://editor.p5js.org/Orzrihh/full/MM_7H1o1T'>Link to Sketch</a><br>I had a different vision for this sketch, but I made a mistake with background colors and it would display like this to key inputs. The effect looked visually interesting, almost like it was capturing the history over time <a href='https://editor.p5js.org/Orzrihh/full/szgAmNOUp'>Link to Sketch</a><br>I experimented with rectangles for a bit since they react differently to changes in parameters. For this one I wanted to play with blend modes as well, so I added rectangles coded to overlap and mix together <a href='https://editor.p5js.org/Orzrihh/full/RZgDsZqOo'>Link to Sketch</a><br>I found the effect wasn't strong enough, so coded the controllable square to change colors for each key, and edited the background so previous instances would stay drawn on the canvas, so when the square overlaps with it's past movements, colors would mix. <a href='https://editor.p5js.org/Orzrihh/full/bhgpXIivR'>Link to Sketch</a><br>I wanted to combine the color changing code with some of the scenes I created previously, so I assigned the color variables to the fill of the gates. This made it harder to distinguish each gate, so added strokes to them. <a href='https://editor.p5js.org/Orzrihh/full/TBxd8rhbL'>Link to Sketch</a><br>Playing around with 3d again made me curious to add custom models to explore how the user could interact with them. I imported one of my models and the code lets the user orbit around it. <a href='https://editor.p5js.org/Orzrihh/full/Wmg4LRmKr'>Link to Sketch</a><br>I went back to the hallway code and wanted to try creating a new scene. I started by removing the gates and adding a frame to the end. <a href='https://editor.p5js.org/Orzrihh/full/zIOZ1kAvQ'>Link to Sketch</a><br>I had the vision to create a hallway full of frames that each change color, but I made a mistake in my loop resulting in the pictured sketch. I didn't mean for this to happen, but I got encouraged to try to work with what I got. <a href='https://editor.p5js.org/Orzrihh/full/8yRP-ZSuu'>Link to Sketch</a><br>By mirroring the loop and giving increasing it's value, I was able to creative this dropper-like design, which guides users to navigate downward, following the flow of the shapes. <a href='https://editor.p5js.org/Orzrihh/full/xlLdaGu49'>Link to Sketch</a><br>For one of the final scenes I changed the my approach to the background by using a sphere instead of a box. The sphere spins slightly, which makes it feel more dimensional and farther <a href='https://editor.p5js.org/Orzrihh/full/lcVnPJhcp'>Link to Sketch</a><br>With the addition of a torus, I gave the sphere something similar to a horizon line to emphasize the illusion. If the user travels far enough, they see this, which almost resembles a ringed planet <a href='https://editor.p5js.org/Orzrihh/full/jWKj_EqmX'>Link to Sketch</a><br>I played into this space theme by adding more sphere to the environment that may be encountered by zooming out. <a href='https://editor.p5js.org/Orzrihh/full/oJ0-vdaE8'>Link to Sketch</a><br>The spheres were interesting, but it lacked variety, so I changed them to different shapes. To give the sketch visual feedback, I added color code the background. <a href='https://editor.p5js.org/Orzrihh/full/tKFga7hAD'>Link to Sketch</a><br>For my final sketches, I went back to the gate scenes and applied more of what learned throughout this activity. This one was more simple, as I added the color changing code to the pillars and the rings. <a href='https://editor.p5js.org/Orzrihh/full/vJo5uIxiy'>Link to Sketch</a><br>I removed the pillars from this design to give it more space, and I added a box to act as a podium to hold one of the rings. I couldn't get it to spin exactly how I wanted it, but it still keeps the focus on itself. <a href='https://editor.p5js.org/Orzrihh/full/I-WcITkjs'>Link to Sketch</a><br>The pillars add a lot of character for this specific scene, but took too much attention away in previous iterations. To keep focus on the rings, I made the pillars white to match the secondary elements like the podium and the floor.

Activity 2

A majority of the interactive posters I created for this activity were painted using conductive paint. This subtance is a unique way to create conductive creations since it's easy to create visuals to expiriment with. This poster design is inspired by card suites. The plan was to have each suite interactable, while the elements in the center acted as the ground object. The user would one of each symbol and it would trigger the Makey Makey I went with a standard painting approach for this poster. Its a simple landscape with various elements. I had the idea to make the 'ground' the component actually connected to the ground key. This one was mostly out of fun I made a couple of these image/symbol based designs to get a feel of the paint and to test how detailed I could get with these posters. While the painting portion felt normal, the texture of the paint was a new experience. At this stage, I took a quantity over quality approach so I would have multiple designs to test. I wasn't really thinking of the functionality of these yet and this resulted in posters like this one based on certain visual aesthetics like space. When first thinking about ideas, I wanted to create some sort of rhythm game inspired design. This poster is based on the UI and elements from the game Osu. For this design, I tried to go for a random sigil design combined with a gamepad. The idea would be that somehow the big sigil would act as movement controls. This was another design focused poster. I placed a lot of focus in the center since I planned for this design to guide the user to do an action related to interacting with things on the edge and bringing them to the center This poster design features multiple hands reaching out. For a further design, I thought it would be interesting to incorporate different textures onto these hands for a more involved physical interaction The problem I ran into with the previous posters with the paint mixture I used since it was mixed with an uneven ratio. Because of this I had to scrap most of the previous posters, but I still tested the hand one, using copper tape for the circuit. This method worked a bit, activating the circuit was awkward. I had to pivot from my original work flow, but this change ended up inspiring new ideas later I went back to the copper tape to create a button-like design with raised paper. The white clip acted as my ground, and one had to hold it down then press on one of the clips to activate the Makey Makey. The bottom of the previous test. After the previous picture I added more tape to add some length variety. I came up with the idea of making a circuit inspired by photography, where I would use a camera to take a picture of a model, with each model connecting to a different clip, resulting pictures of different models activating separate keys. The process of taking a photo requires one to look at a subject beforehand, so I had the idea to make the user look through a frame before activating the switch. This would be refined and eventually turn into my final design. When I went back to the conductive paint, I wanted to make a design inspired by drums with the action of hitting areas playing different sounds. The ground clip would be the ground so I could code different sounds Each drum and cymbal was painted, but it didn't visually look like a drum kit. I didn't worry about this since it was a test, but I thought using copper tape may have been better to work with if this was iterated for a seamless design. I went back to my Osu inspired design, and created these posters to resemble my set up for this game. The large pad is the playing area. the poster was separated since the original game requires two inputs from the user, and I wanted to capture this interaction, although the pad only needed one touch from the user to work. I usually play this game using a stylus, so I tried to recreate one. The inside and the end is painted, and it's connected to the ground clip with the elements it interacts with connect to the other clips I didn't expect this to work, but it to my surprise the pen worked as intended. After running into a lot of issues this felt like an accomplishment, and inspired me to experiment with it further. Creating a stylus inspired me to create other designed based on drawing and the motion of writing. This poster is based on connect the dots, with each point/star activating a signal I also used the setup for the stylus on a straw to create a drumstick for the previous poster. This proved to work better due to it's stability and was a lot more comfortable to use. I made a second stylus to figure out how to construct it better, but somewhere in the process I figured I could use both builds in one system somehow Using touch reminded me of the functions of a launchpad for music, so I made a prototype inspired by them. The circuit can only activate when using both styluses, making for an engaged interaction.

Project 3


Unified Physical and Digital Design

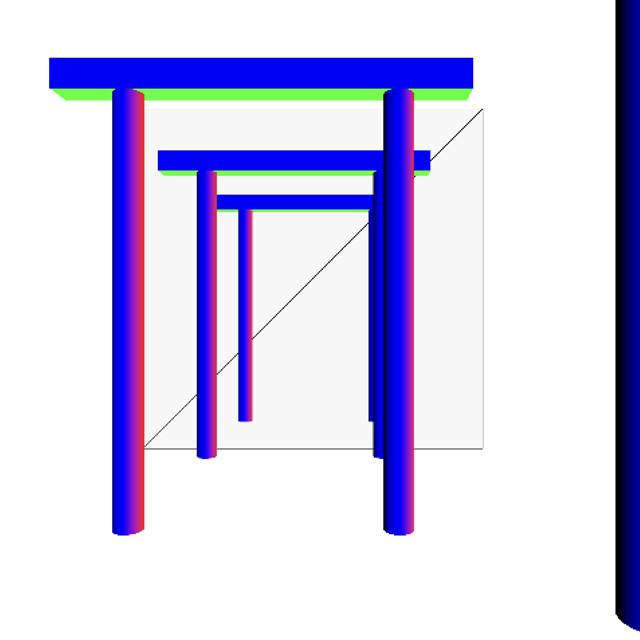
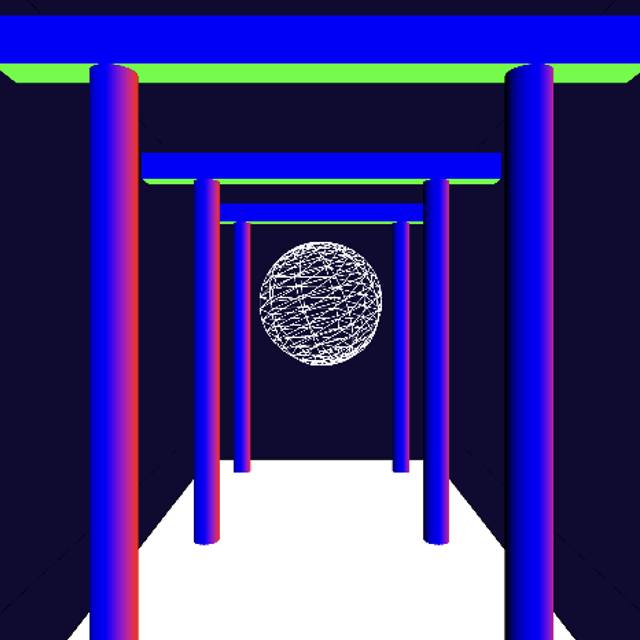
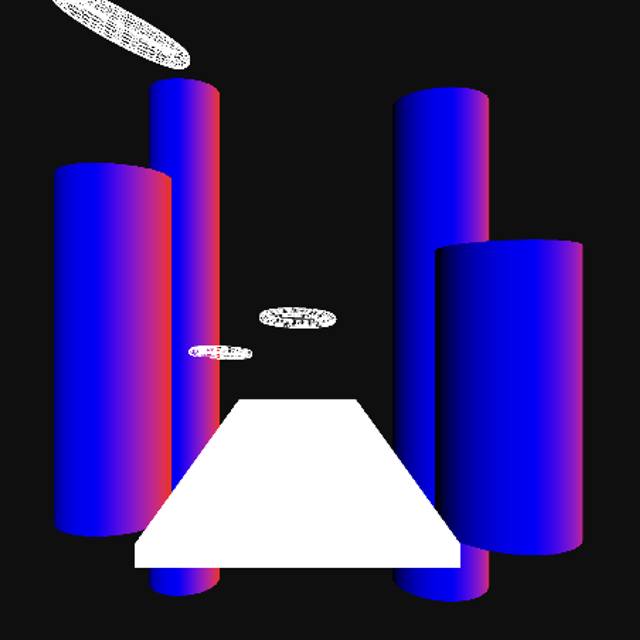
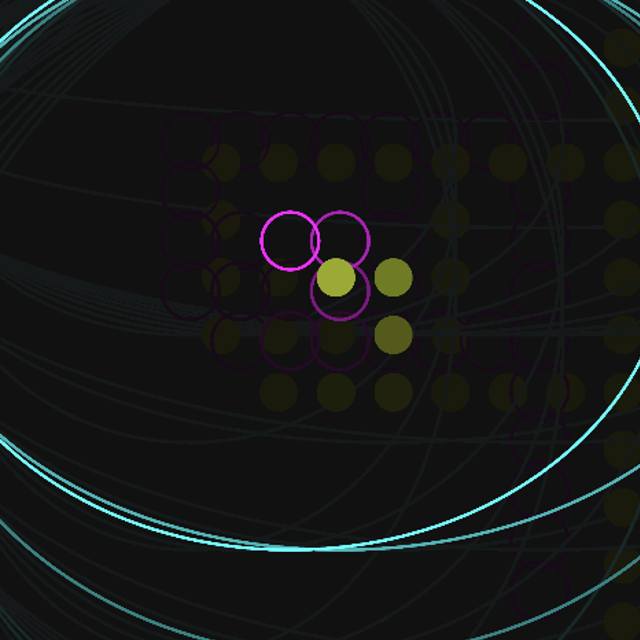
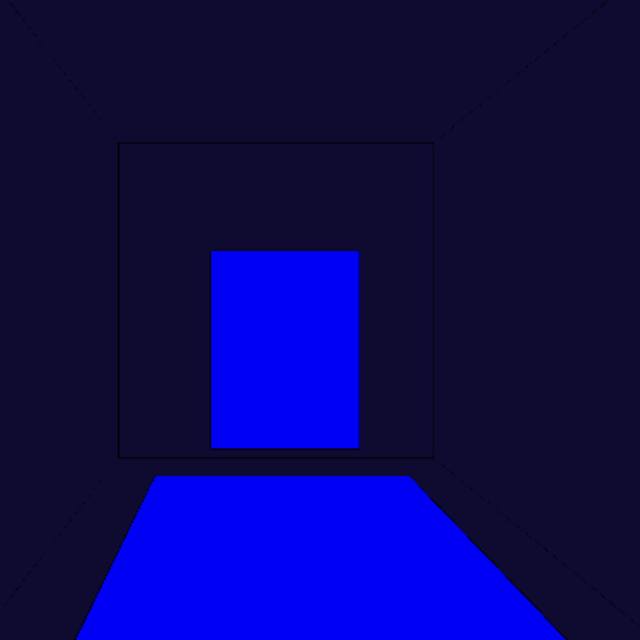
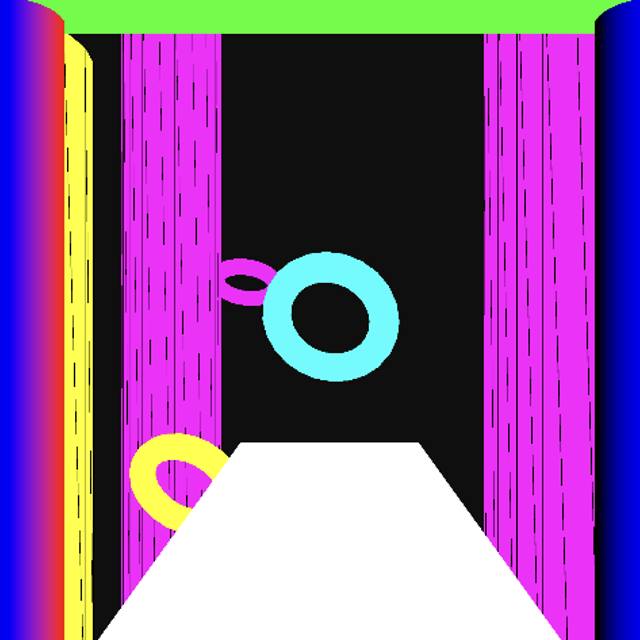
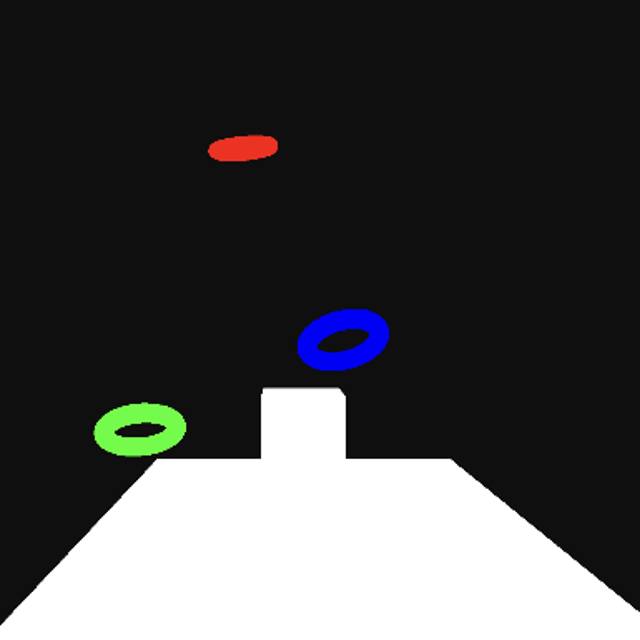
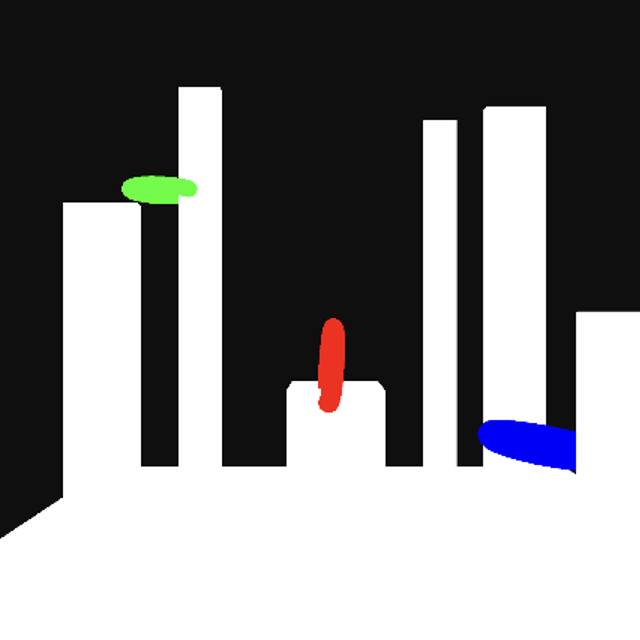
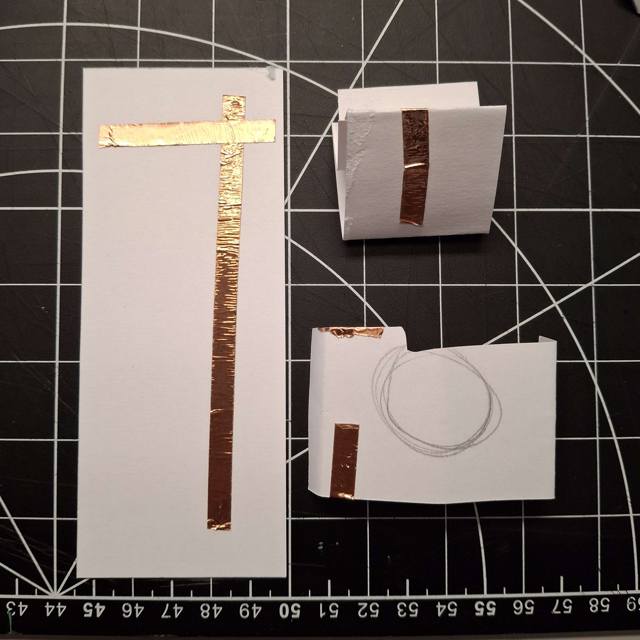
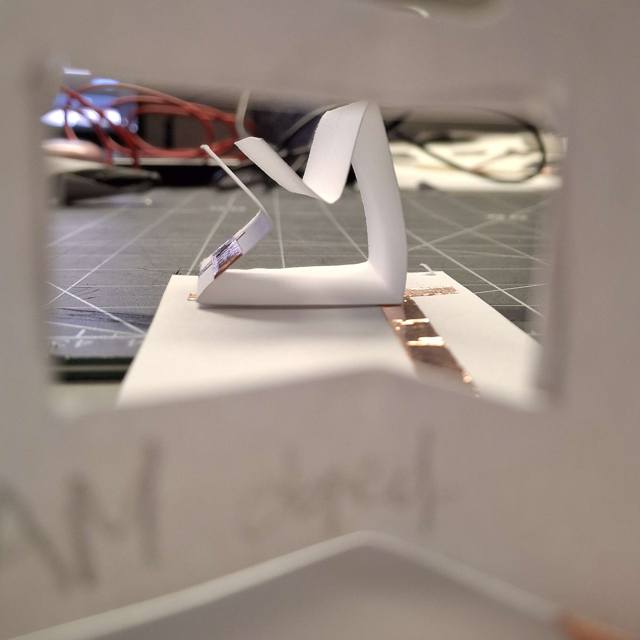
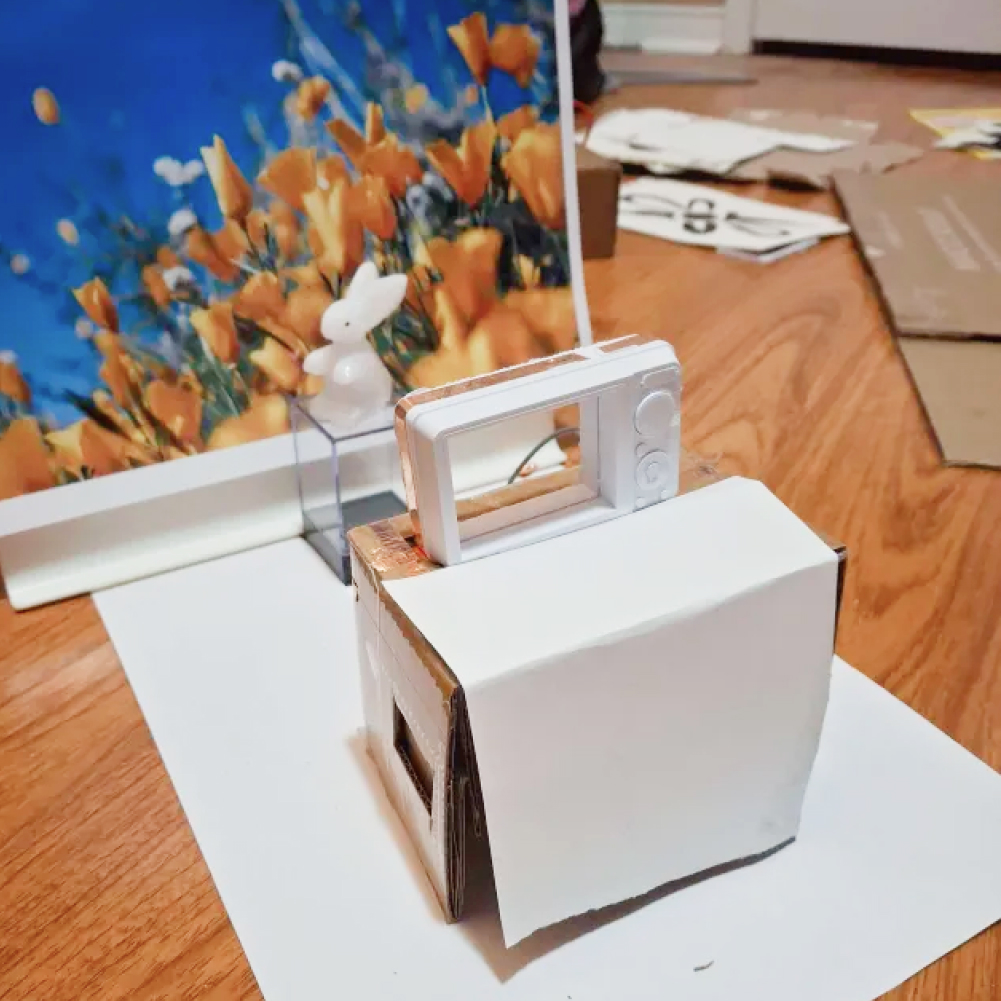
My final design inspired by interactions with photography, utilizing a studio-like set up with a model and a backdrop in front of a camera object. Users are encouraged to experiment with width the scene using the provided backdrops, and ‘take pictures’ but pressing the camera. The digital interface reacts to the user’s input by updating elements in the canvas with elevated visuals based on the backdrops.

Link to Digital Interface

test2Lorem ipsum dolor sit amet, consectetur adipiscing elit
×

Powered by w3.css